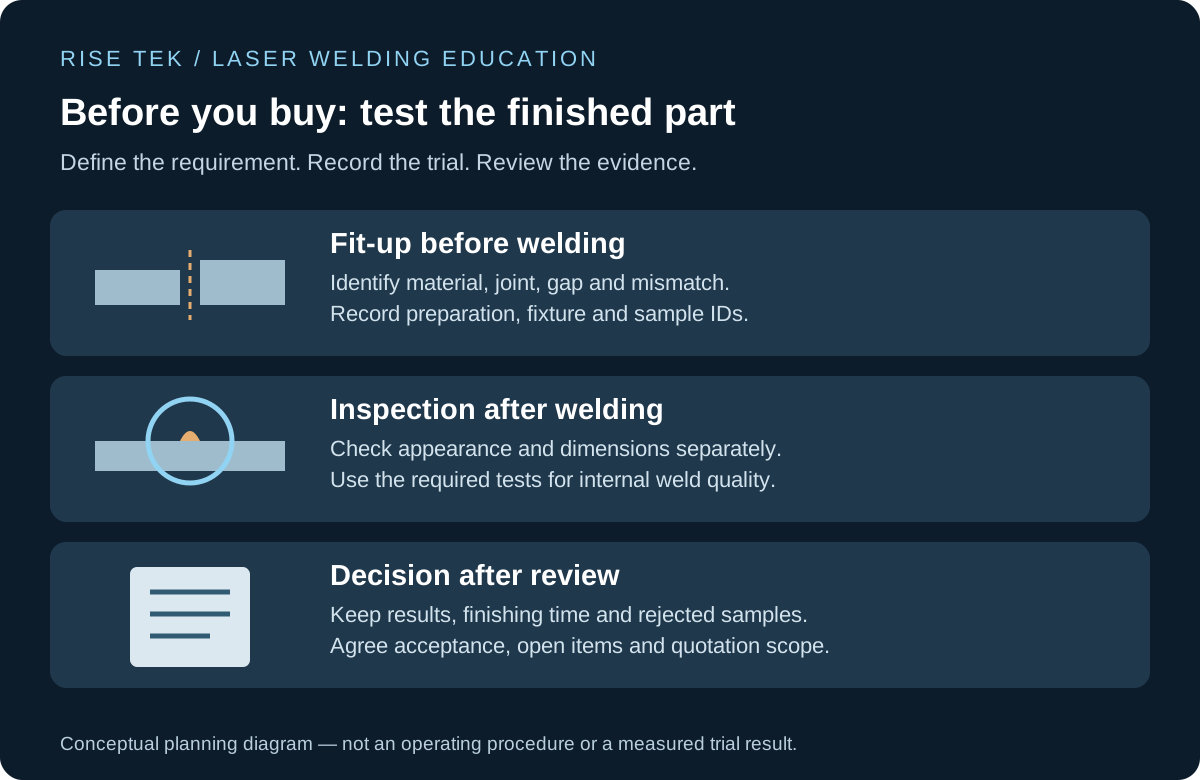
Before buying a handheld laser welder, test representative joints against an agreed inspection plan. Record fit-up, the demonstrated configuration, weld appearance, required quality tests, distortion and finishing effort. Compare accepted finished parts, not just welding time or the appearance of one bead.
For Canadian shops evaluating an HW Series laser welder, a useful sample trial connects the machine quotation to the parts you actually make. This guide helps prepare that review. It is an acceptance-planning checklist, not welding parameters, an operating procedure or a substitute for required welding qualifications.
1. Agree what the trial must demonstrate
Choose sample joints that represent your material grades, thicknesses, geometry, access and normal incoming variation. Include the drawing revision, weld requirements, cosmetic faces and assembly dimensions. Agree who will evaluate the results and what evidence is needed before the demonstration starts.
Separate an application demonstration from procedure qualification, operator qualification and production acceptance. A supplier demonstration does not automatically satisfy any of those requirements. Have the responsible welding specialist identify the applicable specification and approval route for your product.
Have the supplier and a competent laser-safety professional confirm the controlled area, access restrictions, suitable barriers, protective equipment, fume controls and operator training before a trial. Ordinary welding PPE alone should not be assumed sufficient. Do not run an informal open-shop demonstration.
The American Welding Society’s handheld-laser safety guidance discusses reflected-beam hazards, controlled areas and trained personnel. Use the selected machine documentation and site-specific assessment to establish the actual controls.
2. Record fit-up before welding
Give each sample a traceable ID. Record its material, thickness and joint type, then document the gap, mismatch and other drawing-defined fit-up characteristics at agreed locations. Note preparation, surface condition, filler requirements and the fixture or restraint used. Keep before-welding photographs with the sample ID.
Use a representative range of production parts agreed with the supplier rather than assuming an ideal coupon represents every assembly. If an incoming condition falls outside the agreed trial scope, identify it as a separate case. Do not publish a universal allowable gap for every alloy, thickness or joint.
TWI’s laser joint-tracking explanation identifies joint position, misalignment and gaps as relevant to laser welding quality. It does not establish a gap tolerance or seam-tracking feature for the HW Series.
3. Identify the demonstrated machine and accessories
Record the exact model, power option, welding head, nozzle, filler-wire arrangement, shielding-gas specification and the supplier’s process-record reference. Keep the settings and pass sequence with the trial record; this article intentionally provides no universal power, speed or gas recipe.
Check the demonstration scope against the HW configuration comparison and inclusions table. If a feeder, accessory or additional function is needed to reproduce the result, its model and inclusion status should be stated in the quotation. A demonstration on another configuration is not evidence for every HW option.
4. Inspect the weld before judging the finish
| Check | Agree before the trial | Keep in the record |
|---|---|---|
| Visible weld condition | Required weld features, inspection locations and permitted imperfections under the applicable plan. | Before-finishing photographs, observations, measurements and reviewer disposition. |
| Internal quality or performance | Required inspection/test methods and acceptance criteria selected by the responsible specialist. | Linked test reports and sample IDs; unresolved results remain open. |
| Distortion and assembly dimensions | Reference surfaces, measurement points, tolerances and restraint/cooling condition. | Before/after readings, units and the condition in which they were taken. |
| Final appearance | Reference finish, visible faces, lighting and permitted cosmetic variation. | Final comparison and any cleaning, blending or other finishing used. |
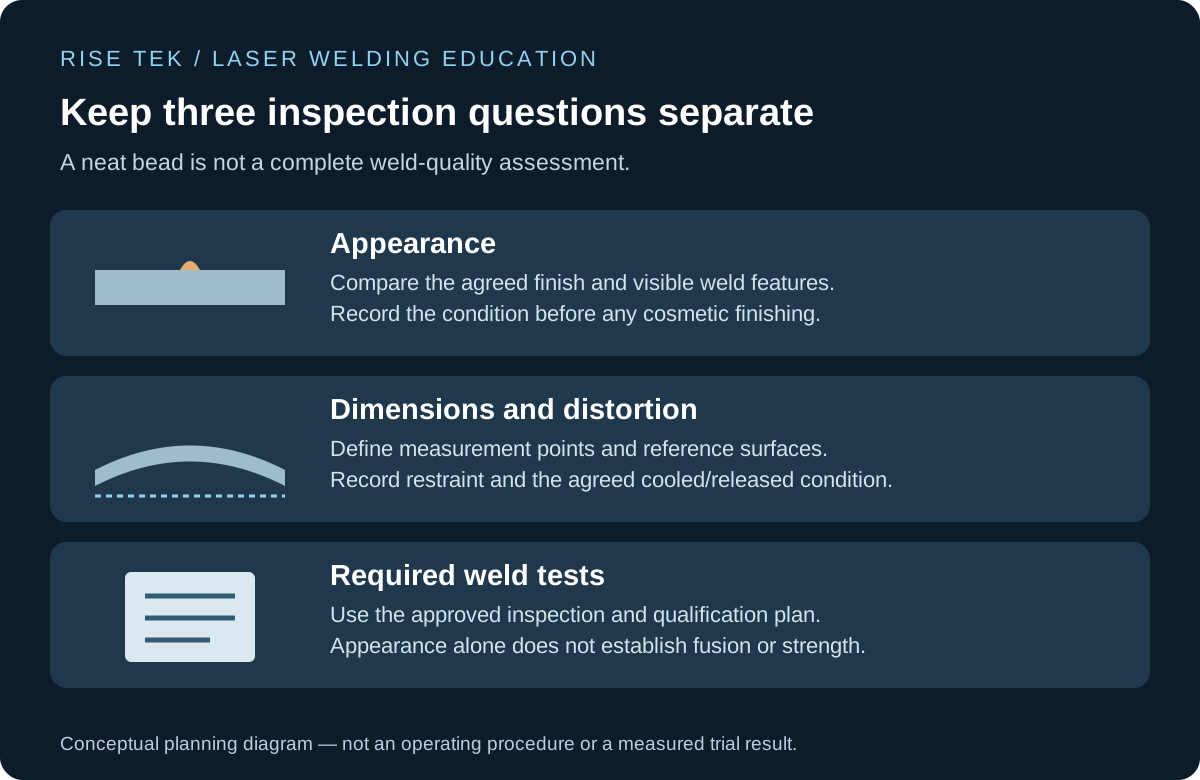
A smooth bead is not proof of fusion, penetration or strength. The inspection plan may call for additional examinations or destructive tests; their suitability depends on the material, geometry and governing requirements. Have qualified personnel select and evaluate them rather than choosing a method from a generic checklist. TWI’s weld-testing overview describes the role of inspection and testing in evaluating joints and procedures.
Record the as-welded condition before cosmetic finishing can obscure visible features. Preserve rejected results as well as successful examples, and identify any permitted repair and reinspection. The weld-defect troubleshooting guide provides further questions for a process review.
5. Measure distortion in a defined condition
Choose reference points and measurement methods before welding. Record whether a reading is taken while restrained, after release or after the agreed cooling stage. Keep the conditions comparable when reviewing another process or a repeated sample.
Document the actual movement or dimensional change at the required locations. A clamped part that appears straight does not establish its released condition. Do not assume zero distortion or adopt a generic percentage limit. For a visible assembly, verify both the dimensional requirement and how it fits with adjacent parts.
6. Compare the complete route to an accepted part
Record preparation, fixturing, welding, cooling where relevant, finishing, inspection and handling separately. State the sample quantity, operator involvement, rework and rejected pieces. Distinguish elapsed time from hands-on labour and note tasks performed in parallel rather than adding overlapping times as if they were sequential.
Compare processes against the same finished-part criteria. If the demonstration includes extra polishing or cleaning, include that work in the result and commercial discussion. Our laser welding vs TIG guide for stainless counters develops this finished-part comparison for appearance-sensitive assemblies.
7. Close the record and connect it to the quotation
For each requirement, record the actual result, evidence reference and accept, reject or hold decision. Identify the reviewer, date and remaining restrictions. An unresolved test is an open item, not an assumed pass. Agree which changes to material, configuration or process require another review, and define subsequent production checks separately.
Download the blank sample-test worksheet →
The worksheet leaves limits, sample counts and methods blank for your approved plan. It does not calculate compliance or certify a weld.
Transfer the accepted configuration, accessories, test evidence and outstanding actions into the Canadian laser-welder quotation checklist. Keep delivery, commissioning and final acceptance responsibilities explicit.
Check these out
Start with the HW Series and confirm the configuration against your sample requirements.
Compare HW configurations · Review inclusions · Request an itemized quotation
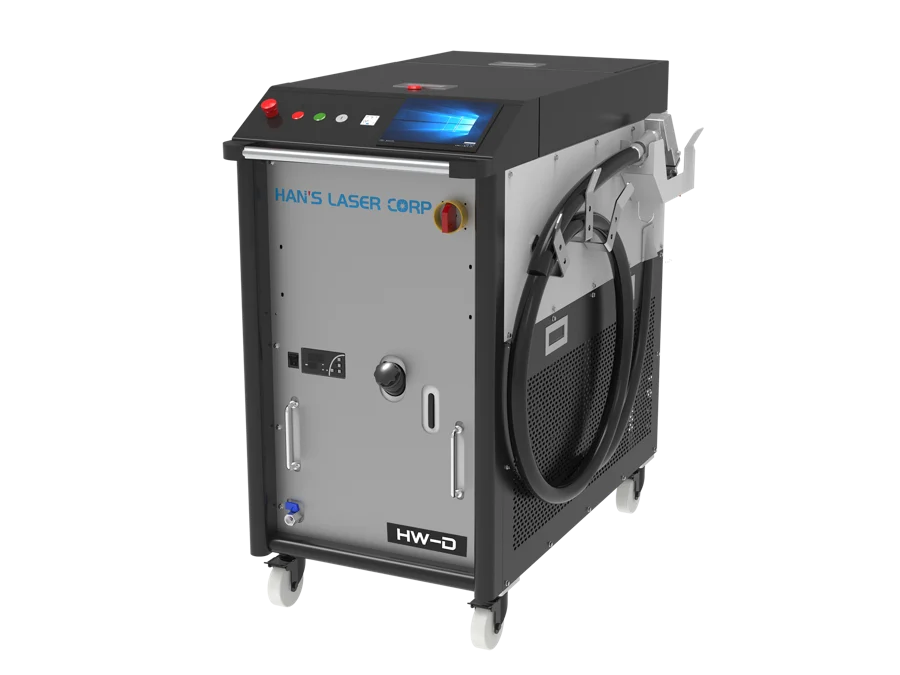
Existing HW-D product image. Shown equipment does not establish the accessories or configuration included in your order.
Frequently asked questions
What should I send for a laser-welder sample test?
Send material grades, thicknesses, joint drawings, incoming-condition details and representative samples agreed with the supplier. Include the required inspection, dimensional and appearance criteria.
Does a neat laser weld prove full penetration or strength?
No. Appearance alone does not establish internal fusion, penetration or strength. Use the inspection and testing plan selected by the responsible welding specialist.
What fit-up gap is acceptable for a handheld laser welder?
There is no universal value for every material, thickness, joint and configuration. Agree the trial range and acceptance criteria for the actual application.
Does a supplier sample test qualify our welding procedure?
Not automatically. A demonstration, procedure qualification, operator qualification and production acceptance serve different purposes. Confirm the required approval route separately.
Should I compare laser welders by welding speed alone?
No. Compare accepted finished parts, including preparation, fixturing, finishing, inspection, handling and rework, with the timing conditions clearly recorded.