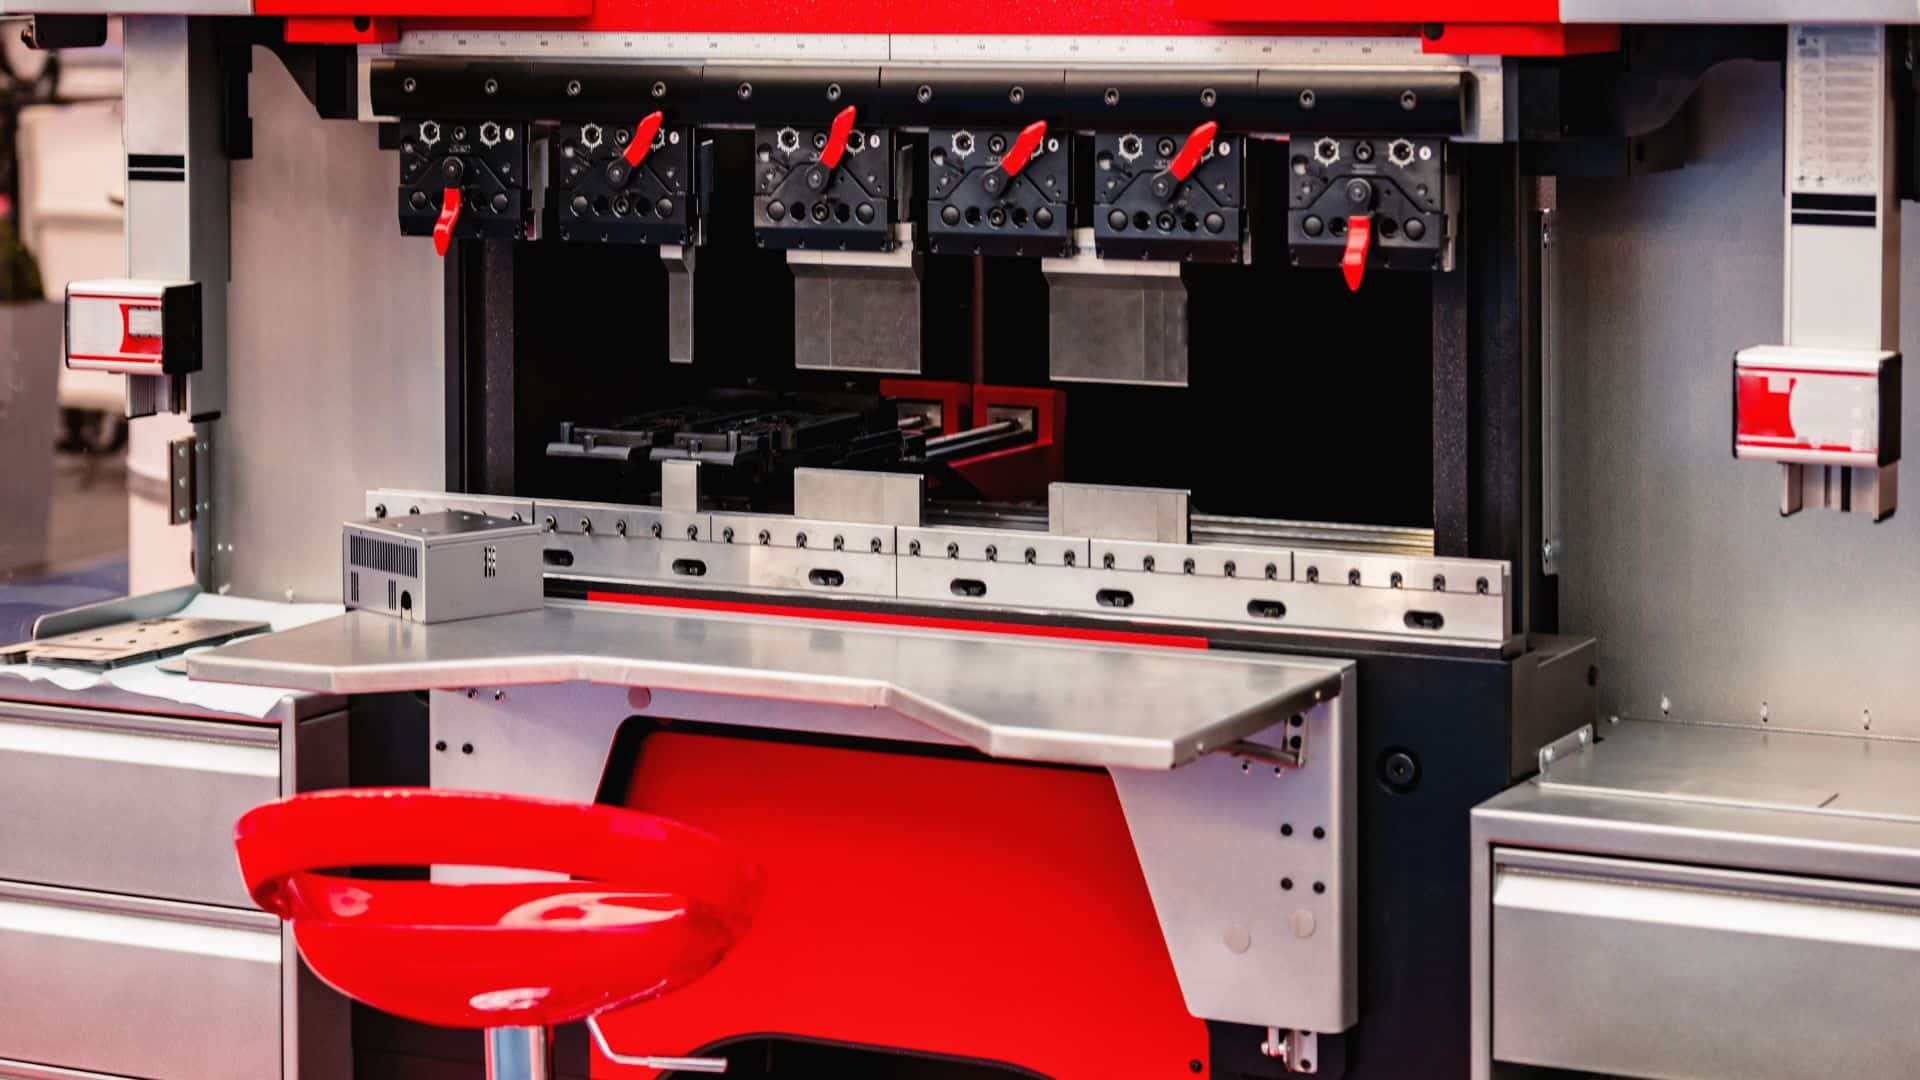
The press brake itself gets most of the attention, but the tooling — the punch and V-die set that actually contacts the material — is what determines whether a bend comes out clean, cracked, or marked. Getting tooling selection wrong is one of the most common and most preventable sources of bad parts and shortened tool life. This guide covers punch profiles, V-die opening rules, minimum bend radius, and how to think about tooling standards before you buy.
Punch and Die Basics
A press brake bends material by pressing a punch (the upper tool, mounted to the ram) down into a V-die (the lower tool, mounted to the bed). The material sits across the V-die opening; as the punch descends, the sheet is forced into the V shape. The punch tip radius sets the inside radius of the bend, and the die opening width controls both the bending force required and the achievable inside radius.
Punch Profiles
Punches are not one-size-fits-all. The right profile depends on the part geometry you're forming:
- Straight punch — the default for most standard bends with no clearance obstruction. Covers the majority of production work.
- Gooseneck punch — has an offset neck that lets the tip reach into a bend where an already-formed flange or box wall would otherwise collide with a straight punch body. Essential for box and pan forming where multiple sides are bent in sequence.
- Radius punch — used when the application calls for a larger, controlled inside radius rather than the sharp radius a standard tip produces, often for cosmetic parts or to reduce stress concentration at the bend.
- Acute-angle punch — for bends tighter than 90 degrees, such as hem preparation (folding an edge back on itself) or snap-lock forms.
Punch tip radius also has to respect the material's minimum bend radius (see below) — a punch with too tight a radius for the material and thickness will crack the outside surface of the bend regardless of how well the rest of the setup is dialled in.
V-Die Opening: The Core Sizing Rule
Die opening width is the single most important tooling decision for a given job. It is not arbitrary — it follows a standard ratio to material thickness:
| Material | Standard V-Opening Ratio | Example (3mm material) |
|---|---|---|
| Mild steel | 6–8× thickness | 18–24mm die |
| Stainless steel | 8–10× thickness | 24–30mm die |
Stainless steel needs a wider die than mild steel of the same thickness for two reasons: it springs back more, and a narrow die increases the risk of surface marking on a material where cosmetic finish often matters more. As a rule of thumb, stainless steel jobs require roughly 40–60% more tonnage than mild steel of the same thickness — a wider die opening also helps keep that tonnage requirement manageable.
Die opening is a trade-off, not a free choice: a wider opening reduces the bending force required but produces a larger inside bend radius. If a drawing calls for a specific inside radius, the die opening is effectively fixed by that requirement, not chosen independently.
Minimum bend radius is the smallest inside radius that can be formed in a given material and thickness without cracking the outer (tension) surface. It depends on material ductility, temper, and grain direction — bending across the grain generally tolerates a tighter radius than bending along the grain. Tooling selected for a radius tighter than the material's minimum will crack, no matter how well everything else is set up.
Tooling Standards: European vs. American
Beyond profile and opening size, tooling comes in different clamping standards that determine what you can buy and from whom:
- European standard (Wila-compatible) — a segmented clamping system that is broadly interchangeable across machine brands. This is the most widely available and stocked standard globally, and it's what Dener and Haco press brakes sold by Rise Tek use as standard.
- American-style clamping — tends to be more proprietary to the specific machine brand, which can narrow your options for sourcing replacement or expansion tooling later.
This decision matters most at purchase time, since retrofitting a machine to a different tooling standard later is a real cost, not a simple swap. For a deeper look at the trade-offs between the two standards, see our blog post: European vs. American Press Brake Tooling: Which Standard Should You Choose?
Common Tooling Mistakes
- Using a die opening too narrow for the material — increases tonnage beyond what's necessary, accelerates tool wear, and on stainless steel raises the risk of surface marking.
- Forgetting to recalculate for stainless — jobs switched from mild steel to stainless without adjusting die width and tonnage are a common source of cracked parts and machine strain.
- Ignoring grain direction on tight-radius bends — the same nominal minimum bend radius can crack a part if the bend runs parallel to the material's grain instead of across it.
- Running worn tooling — a worn punch tip or die shoulder changes the effective radius and can cause bend angle to drift out of tolerance even when the CNC program hasn't changed.
- Mixing tooling standards without checking compatibility — not all "European style" tooling from different suppliers is perfectly interchangeable; verify clamp geometry before assuming a cross-brand fit.
Related Reading
- European vs. American Press Brake Tooling: Which Standard Should You Choose?
- What is a CNC Press Brake? Complete Guide for Canadian Fabricators
- Press Brake Maintenance Schedule: Daily, Weekly, Monthly & Annual
- Press Brake Training Hub — Education Center
- CNC Press Brakes at Rise Tek — Hydraulic, Servo-Electric & Ball Screw